How to Make Cloud Slime and Oobleck for Kid's Birthday Party
How to Make Cloud Slime and Oobleck For Kid's Birthday Party or DIY At Home Experience
Slime is the ultimate fun, squishy, and gooey activity that never goes out of style—especially for kids’ birthday parties or DIY projects at home. But did you know you can make all kinds of different slime textures and types that are perfect for a hands-on, messy (but fun!) experience? In this blog post, we'll show you how to make Cloud Slime, Oobleck, and other fun slime types that are sure to make your kid's birthday party or playtime at home unforgettable. Whether you're looking for fluffy, stretchy, or squishy, we've got the perfect recipe for you!
NOTE: This blog is for informational purposes. Slime should always be made in the presence of an adult as it is most often a chemical reaction that changes the underlying ingredients into something new.
How to Turn Slime into a Learning Experience for Kids
Slime isn’t just about having fun and making a mess (though that’s definitely part of it)! Making slime is a great opportunity to introduce your kids to some simple science concepts. When kids create slime, they’re actually learning about polymers, chemistry, and viscosity—all while playing! Here’s how to turn slime-making into a learning experience:
Explore Polymers: Slime is a polymer, which means it’s made up of long chains of molecules that create its stretchy and gooey consistency. Talk to your kids about what polymers are and how they work in everyday items, like plastic bottles, rubber bands, and even food!
Learn about States of Matter: When you make slime, you’re manipulating liquids and solids. Some slimes, like Oobleck, even demonstrate a substance that behaves like a solid under pressure but like a liquid when at rest. This is a great chance to teach kids about the different states of matter.
Observe Chemical Reactions: Certain types of slime involve chemical reactions, like when you combine baking soda with contact solution to form polymer slime. You can explain how chemicals react to create new substances in the process!
In addition to the hands-on fun, these experiments can spark curiosity and inspire kids to ask questions and explore science in a fun and interactive way.
How to Make Cloud Slime
Cloud Slime is a fluffy, soft, and squishy slime that feels just like a cloud—hence the name! It’s perfect for a birthday party activity or a quiet afternoon at home. Plus, it’s surprisingly easy to make and of course, we would only advise you to make cloud slime in the presence of an experienced adult
Ingredients:
1/2 cup of white school glue
1/2 cup of shaving cream (foam, not gel)
1/4 cup of cornstarch
1 tbsp of baking soda
1-2 tbsp of saline solution (with boric acid)
Instructions(follow at your own risk):
Mix Glue and Shaving Cream: In a mixing bowl, combine the glue and shaving cream. Stir until smooth.
Add Cornstarch: Add the cornstarch to the mixture and mix again. This will give the slime its fluffy, cloud-like texture.
Add Baking Soda: Stir in the baking soda to help the slime firm up.
Activate with Saline Solution: Slowly add the saline solution a little at a time until the slime begins to form. Knead with your hands for the perfect cloud slime texture!
Pro Tip: Cloud slime is best stored in an easy sealed and airtight container to keep its moist fluffy texture. It’s a great, stress-free slime for kids to play with for hours!
How to Make Glitter Cloud Slime
If your kids love sparkles, why not take your cloud slime to the next level with glitter? Glitter Cloud Slime is just as soft and fluffy as regular cloud slime but with the added magic of shimmer.
Ingredients:
1/2 cup white school glue
1/2 cup shaving cream
1/4 cup cornstarch
1 tbsp baking soda
1-2 tbsp saline solution
Biodegradable Glitter (not too much, or its all over the floor)
Instructions:
Prepare the Cloud Slime: Follow the basic Cloud Slime recipe above.
Add Glitter: Once your slime is formed, add glitter to the mix. You can choose from silver, gold, or even colorful glitter for extra flair.
Mix and Enjoy: Knead the slime to distribute the glitter evenly, creating a sparkly, cloud-like masterpiece!
Tip: Use biodegradable glitter if you're concerned about the environmental impact—it's a more eco-friendly option!
How to Make Oobleck That Kids Love and Not Mess Up Your House
Oobleck is a non-Newtonian fluid that acts like a solid when pressure is applied and like a liquid when there’s no pressure. It’s super fun to play with and can be made with just two ingredients. Plus, it’s easy to clean up!
Ingredients (Use at your Own Risk):
1 cup cornstarch
1/2 cup water
Instructions (Follow at Your Own Risk):
Mix Cornstarch and Water: In a bowl, combine cornstarch and water. Start with 1/2 cup of water, and slowly add more until the mixture reaches a thick, liquid consistency. Our recommendation is 1/3 cup water for every 1/2 cup Oobleck.
Play with Oobleck: Let your kids play with Oobleck, experimenting with its solid-liquid properties. They can punch it, squeeze it, and even run their hands through it!
Pro Tip: While Oobleck is incredibly fun, it can get messy. Set up a DIY “Oobleck play area” in a plastic tray or large bowl, and cover surfaces with a plastic tablecloth or old newspapers to minimize the mess!
How to Make Butter Slime
If your child loves soft, smooth, and stretchy slime, butter slime is the answer. It’s incredibly soft, buttery to the touch, and has a fun, spreadable texture.
Ingredients (use at your Own Risk:
1/2 cup white school glue
1/2 cup shaving cream
1/4 cup cornstarch
1/2 tbsp baking soda
1 tbsp H20 solution
1/4 cup of model magic clay (this is what gives butter slime its creamy texture)
Instructions (Use aT Your OWN RISK:
Make the Base: Combine glue, shaving cream, and cornstarch in a bowl.
Add Clay: Add the model magic clay and knead until it’s well mixed and smooth.
Activate with H20 Solution: Add the baking soda and saline solution a little at a time, mixing until the slime becomes thick and stretchy.
Enjoy!: The result is a soft, buttery slime that can be spread and squished just like butter!
How to Make Polymer Slime
Polymer slime is the classic slime everyone knows and loves. It’s super stretchy, gooey, and tons of fun. Here’s a simple way to make polymer slime that kids will enjoy.
Ingredients (USE at Your Own Risk:
1/2 cup school glue
1/2 cup water
1/2 tsp baking soda
1 tbsp saline solution (or contact lens solution)
Instructions (Follow at your Own Risk:
Combine Glue and Water: Mix the glue and water together in a bowl.
Add Baking Soda: Stir in the baking soda.
Activate with Saline Solution: Slowly add the saline solution while stirring. The slime will begin to form almost immediately. Continue stirring and kneading until you reach the desired consistency.
Pro Tip: Add food coloring or glitter to make your polymer slime even more fun!
How to Make Toothpaste Slime
Toothpaste slime is fun, easy to make, and smells fresh! It’s also a great way to reuse leftover toothpaste.
Ingredients (Use at your Own Risk:
1/4 cup white toothpaste (gel toothpaste doesn’t work well)
1 tbsp cornstarch
1 tbsp baking soda
1/2 tbsp water
Instructions (Follow at Your Own Risk:
Mix Toothpaste and Cornstarch: In a bowl, mix the toothpaste and cornstarch together.
Add Baking Soda and Water: Stir in the baking soda and water.
Knead: Continue kneading the slime until it reaches a smooth, stretchy texture.
Pro Tip: Toothpaste slime doesn’t last as long as other slimes, so it’s best to make it fresh just before you want to play with it!
How to Make Ketchup Slime
Want something a little quirky? Ketchup slime is slimy, stretchy, and a great conversation starter at parties!
Ingredients (Use at Your own Risk:
1/4 cup ketchup
1/4 cup cornstarch
1 tbsp baking soda
Instructions (Follow at your Own Risk:
Pour 2oz of Ketchup : In a bowl, mix the ketchup slowly for 15 seonds.
Add Baking Soda: Stir in one teaspoon of baking soda and to activate the slime. This works because ketchup, believe it or not, contains vinegar and thus the baking soda has a reaction with vinegar that forms a mini muffin cloud. We strongly recommend doing this experiment on a large plate inside a bowl, or visiting Kids Science Labs to let our experts help you avoid a mess.
Pro-Tips: To get the most of the experience a parent may add a small amount of baking soda and look for fizzing, before adding the whole spoon.
Tip: Ketchup slime can get a little sticky, so be sure to keep paper towels handy for easy cleanup!
How to Avoid Making Slime at Your House and Instead Visit Kids Science Labs
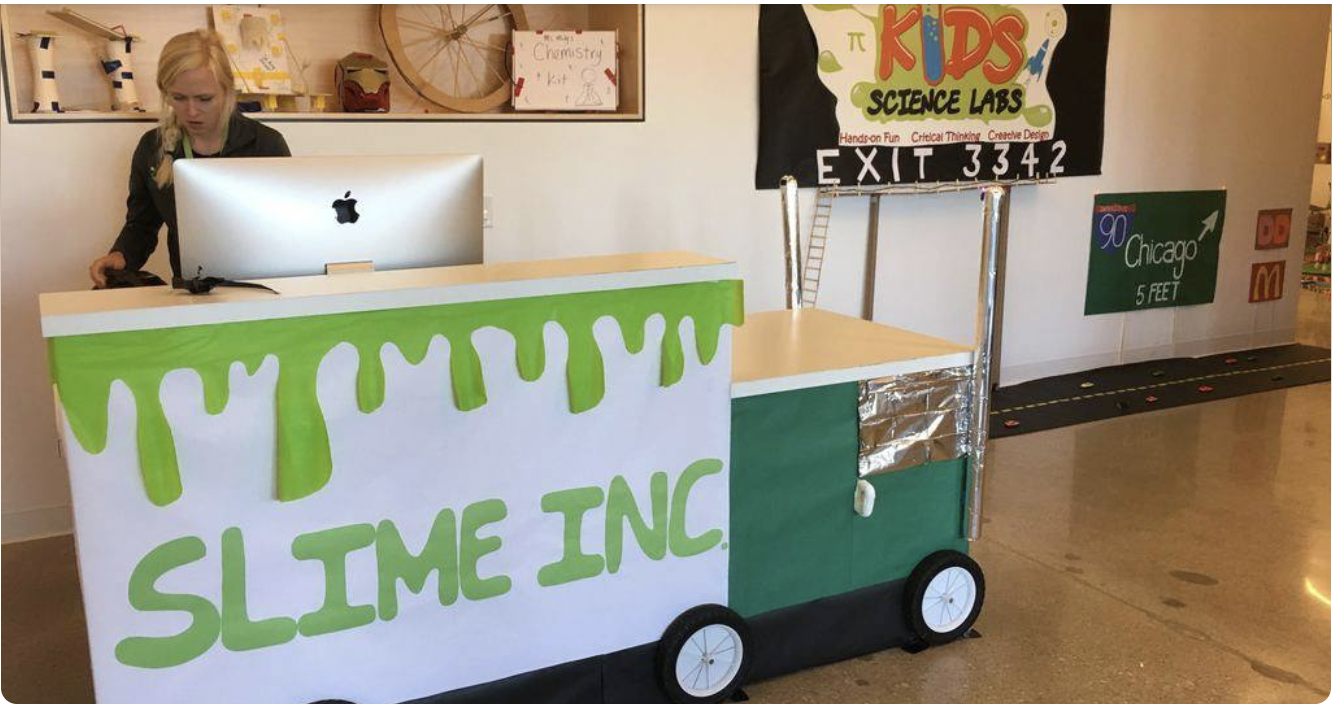
If you want to skip the cleanup and enjoy an even more fun and educational slime experience, why not visit Kids Science Labs? With locations in Chicago, Northbrook, and Seattle, Kids Science Labs offers slime-making parties where kids get to create different types of slime while learning about the science behind it.
At Kids Science Labs, you’ll have all the supplies, supervision, and fun without the mess at home. Plus, kids will love the interactive experiments and get
This blog is intended for educational and informational purposes only and is NOT intended for kids. Kids Science Labs makes no promises, guarantees, or statements about slime other than for informational purposes. If you, your child, or your firends decide to make slime at home, you are doing so without our recommendation, encouragement, or suggestion. We are merely offering educational insights that may help an adult or slime expert with making a cool phase-changing slime experience.

