Learning how to turn a Cardboard Box into an xBox can make an adventurous Chicago Summer Camp for Kids
Why a CardboArd box is better than an xBox!
It is Friday after Thanksgiving, it's a long weekend and the family is trapped in the house. Now that sounds like a potential problem, ripe for being bored and getting into trouble. Rather than break out the video games, why not do something more inspiring…using that natural problem solver inside your kid to make something special.
Fortunately, in your house you have three of the most creative ingredients ever: you, your kids, and a cardboard box. That’s right, a cardboard box just might be the most creative material ever. You may have some cardboard boxes lying around after some Black Friday shopping. They can be put to great use to entertain your kids without “screen time”, all while encouraging their creativity.
So, let’s build something. Cardboard boxes can turn into just about anything. Not only can they enable your kids to design something, they will love constructing the project with you, learn that mistakes and iteration are cool, customize the inside of their very own space, and create a great family memory.
Even better, this isn’t that time intensive, nor does it require engineering expertise.
Here are the basic steps
Pick out a space in your house and be prepare to spend 1 hour – designing, laughing, taping, and having fun with your kids.
Come up with potential ideas – often this is the hardest step, some ideas are below.
Start with a drawing. Any drawing. Really. Just draw something
It is ok to make mistakes.
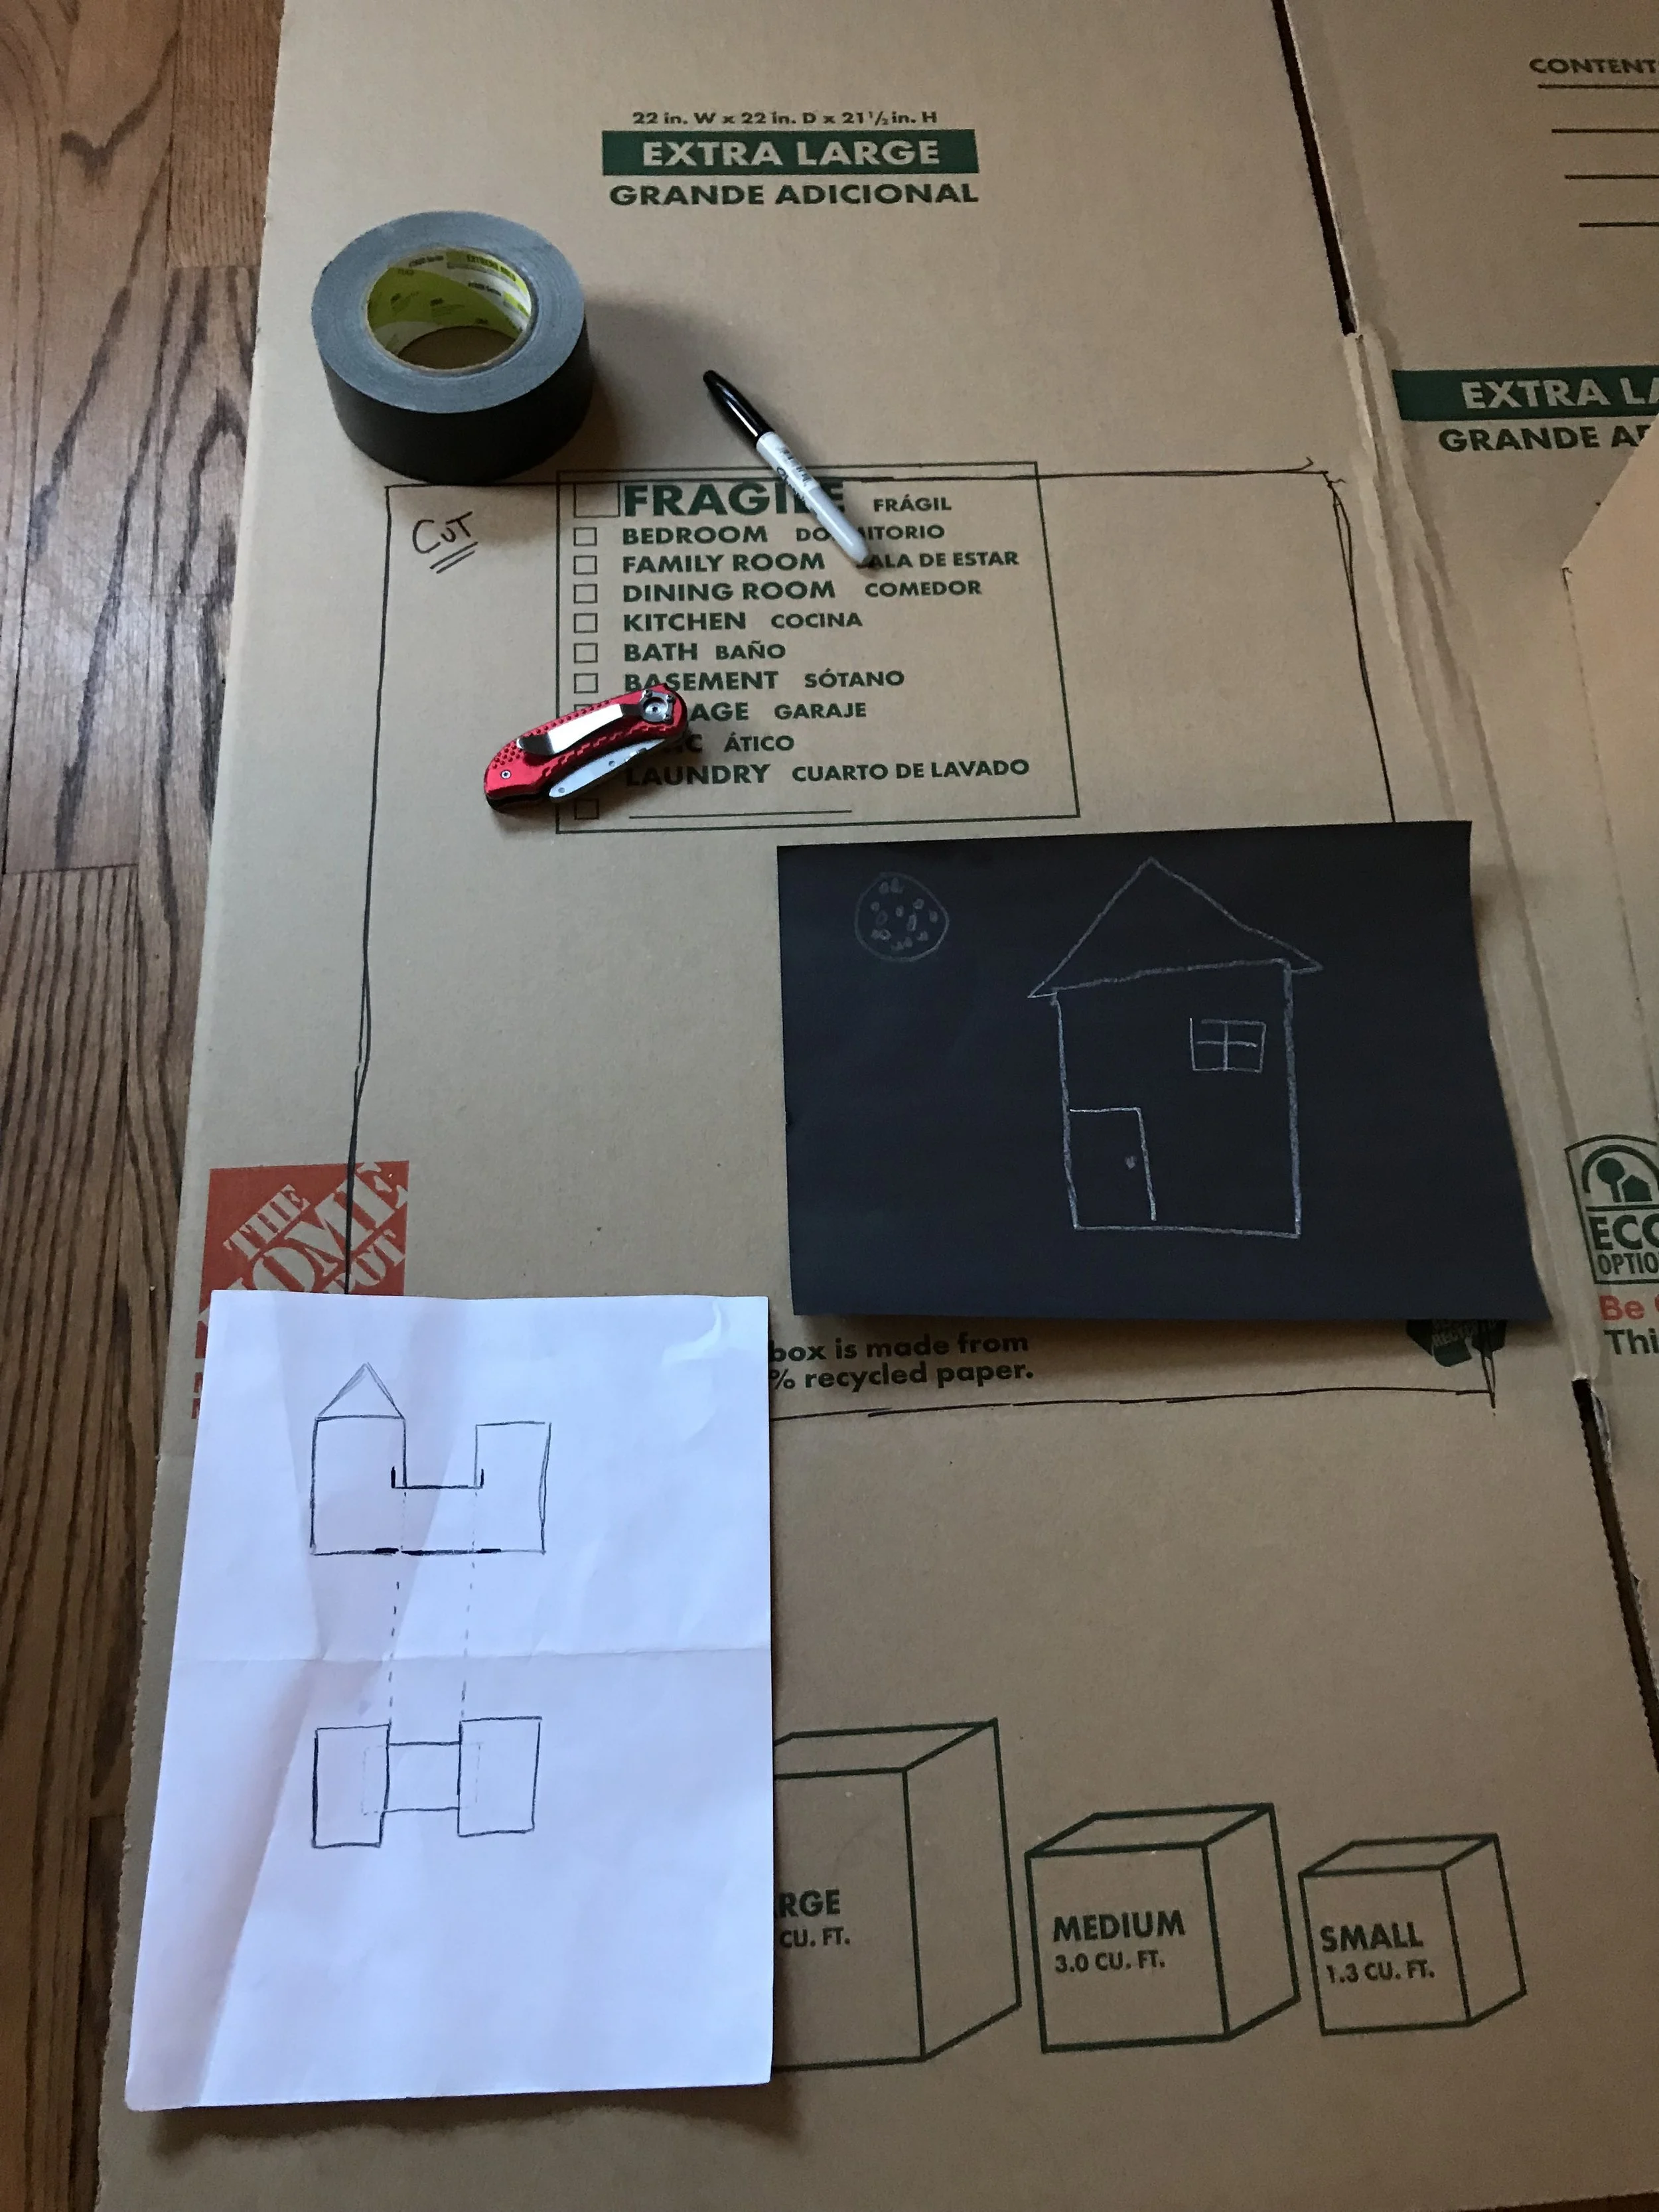
What do you need: Cardboard boxes, duck tape, scissors, a pensile, paper, a ruler, and a cutting surface.
Your final design will not be exactly as you envisioned. That is good.
Add some customization. Why is this important? This is where you can allow your children to have their imagination run wild.
Why is this a cool project? We all love being creative, but often in the rush of our day to day, don’t get the chance. Halloween is a great example, it allows us to be kids again, to be creative coming up with unique costumes. That doesn’t need to be constrained to one day a year
Xbox is cool, but creating something is even cooler and more memorable. Your kids may resist initially, but just wait until they are playing in their box creation 3 hours later.
Your kids will love their creation because it is theirs. Their design, their safe place, and place to dream. Not only does this project engage their creativity, but it allows all of us to practice design thinking, creating something from scratch, to have a vision, to create a prototype, to make mistakes, to use our creativity to problem solve, and to be proud of our creation.
Let’s design and create. Ready to build, let’s get rolling. Here is where to start. And don't worry, some pro-tips and examples for construction are below
Pick out a space in your house and be prepare to spend 1 hour – designing, laughing, taping, and having fun with your kids.
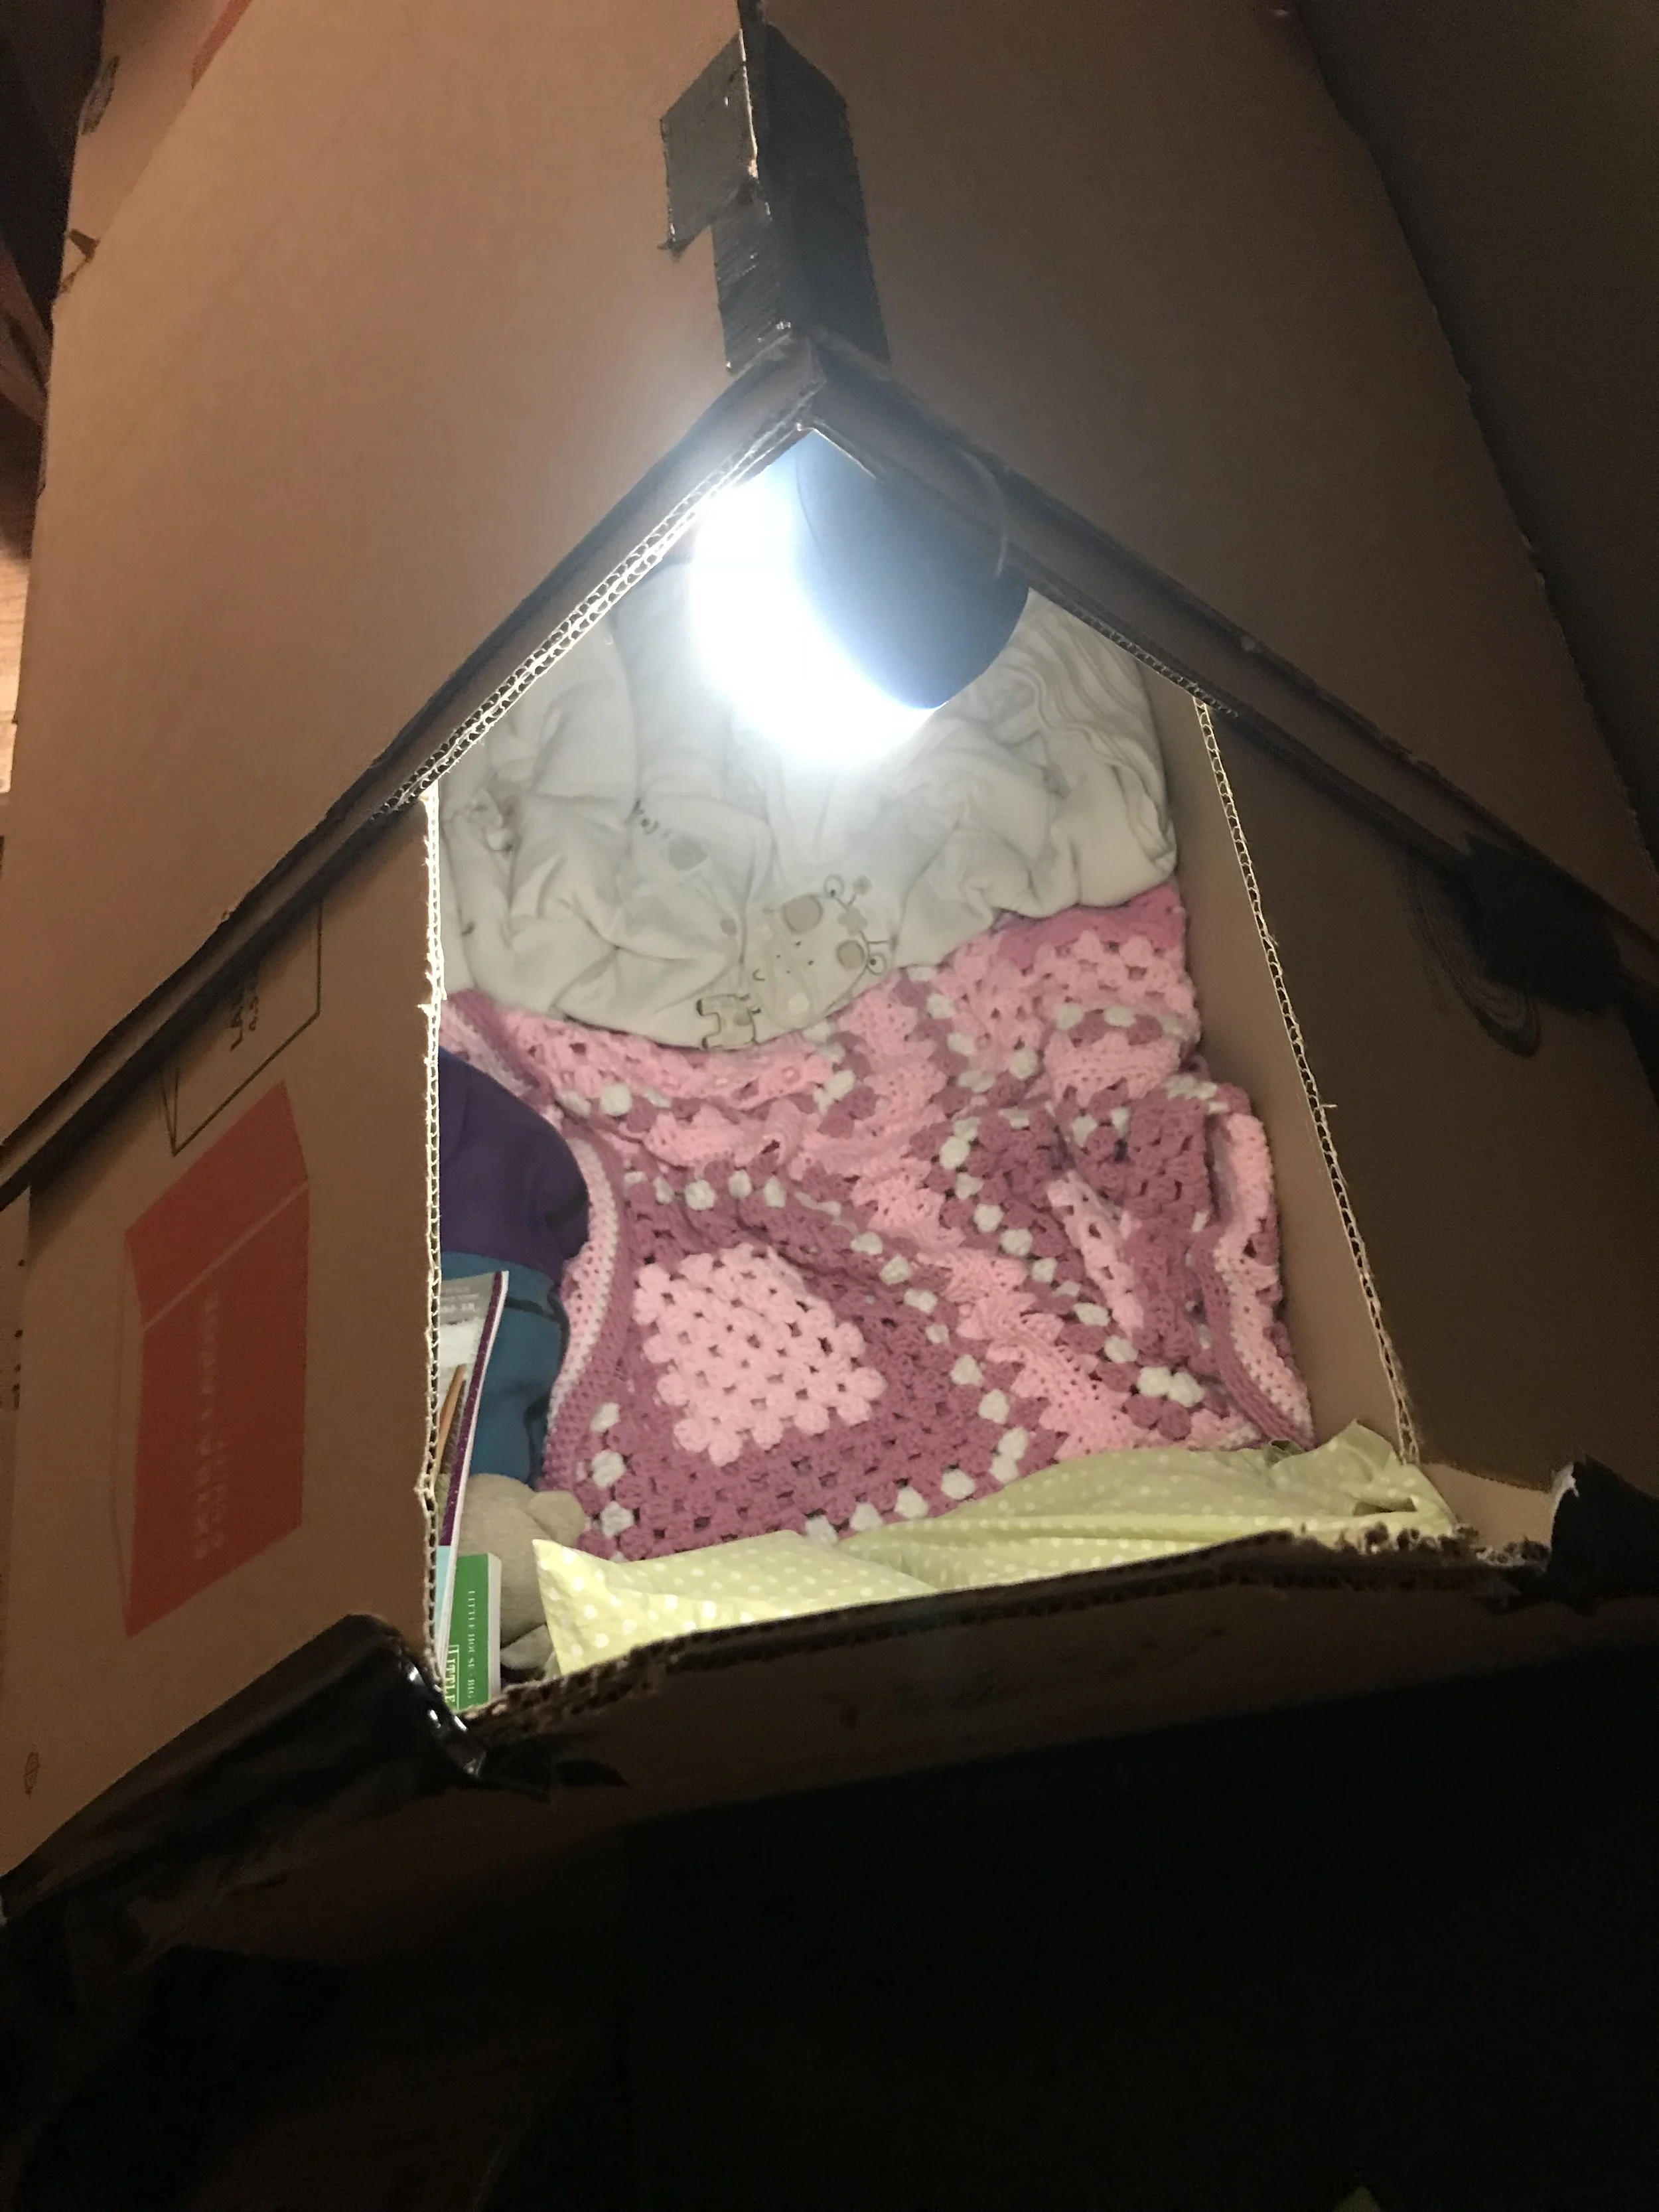
Come up with some potential ideas – often this is the hardest step. Prepared to be surprised. We have built: (1) rockets with boxes and old car seats, (2) homes with retracting roofs/lights/doors, (3) A secret escape room with water and food supplies, (4) reading rooms (5) boats, and (6) castles.
Start with a drawing. Any drawing. Really. Just draw something and have your kids draw something. It doesn’t need to be perfect and often it is better if it isn’t perfect.
It is ok to make mistakes. The hardest step is often getting started. Demonstrating to your kids that you are not a perfect artist or architect it a good thing, it gives them permission to make mistakes in life.
What do you need: Cardboard boxes, duck tape, scissors, a pensile, paper, a ruler, and a cutting surface.
Your final design will not be exactly as you envisioned. That is good. Welcome to design thinking and innovation. The first prototype is just that, it is great, imperfect, and teaches us how to do something better.
Add some customization. Why is this important, this is where you can allow your children to have their imagination run wild. Crayons and markers can represent TVs, iPads, control panels, doorbells, the ceiling of the Sistine Chapel, art on a wall.
Helpful tip: have a couple of holes in the ceiling or windows for airflow.
Keys & Tips
Picture how the pieces will fit together
Have a cutting surface
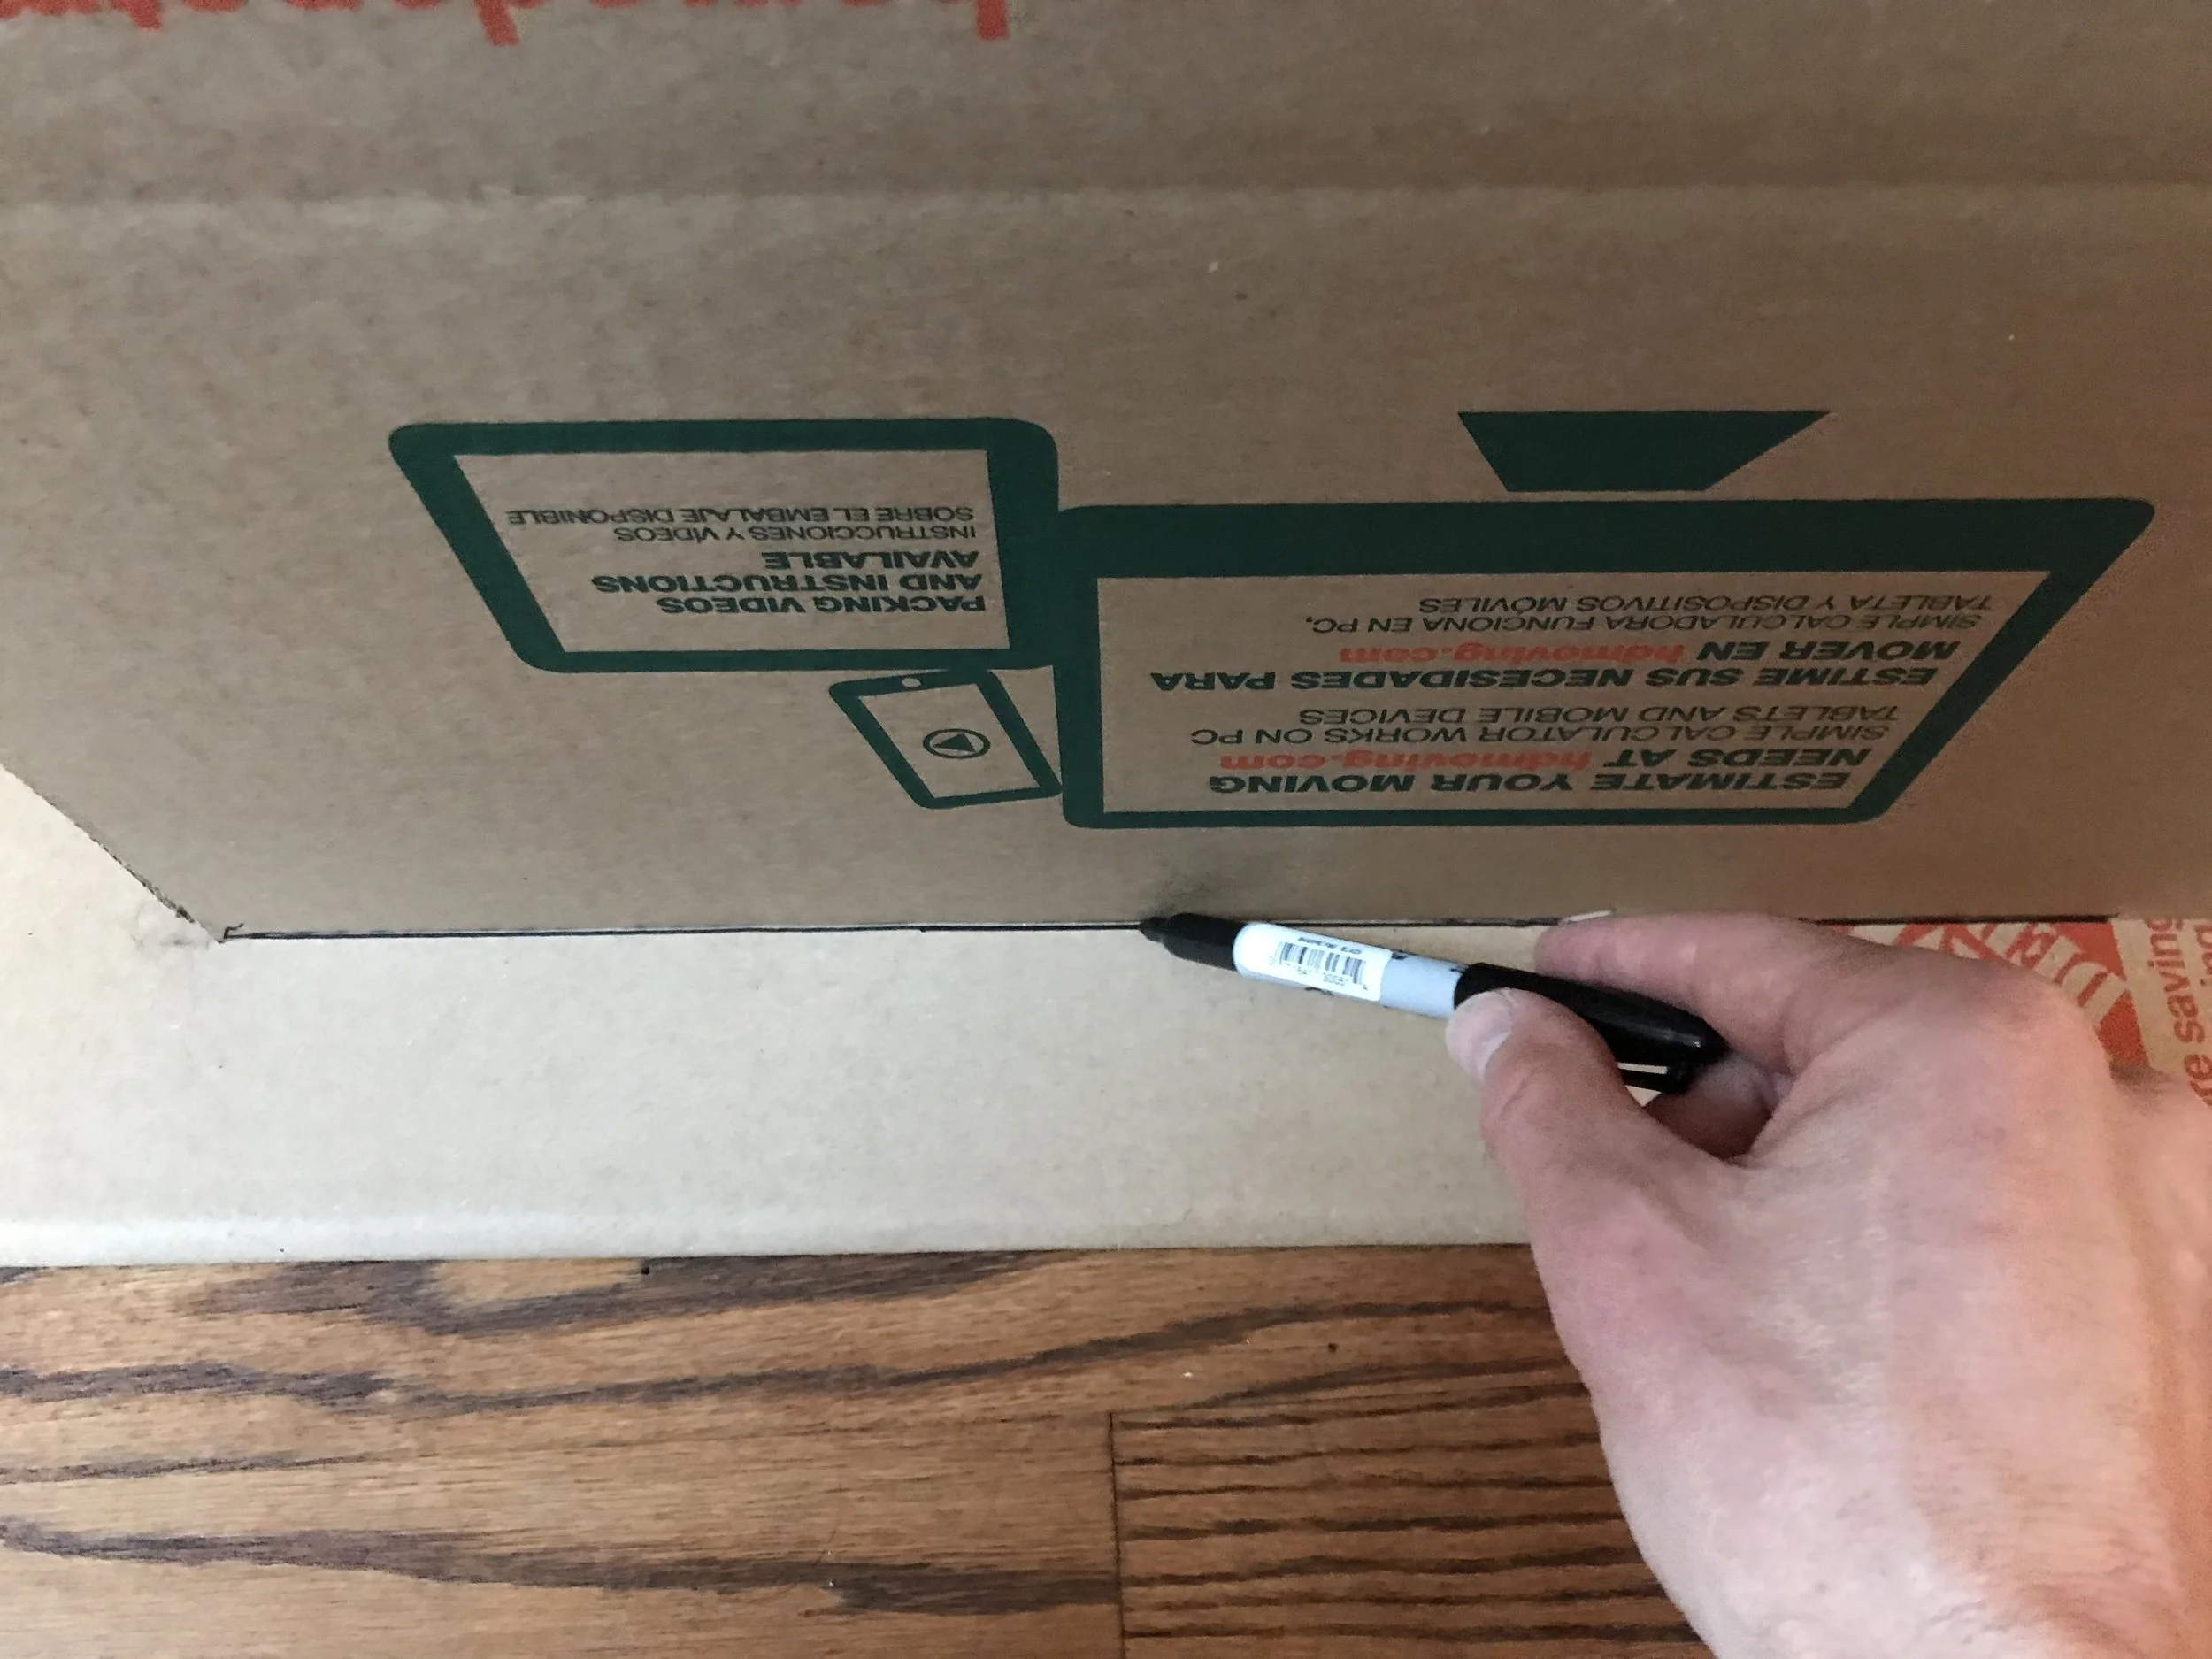
Measure twice, cut once.
Never cut towards your body or with someone behind you
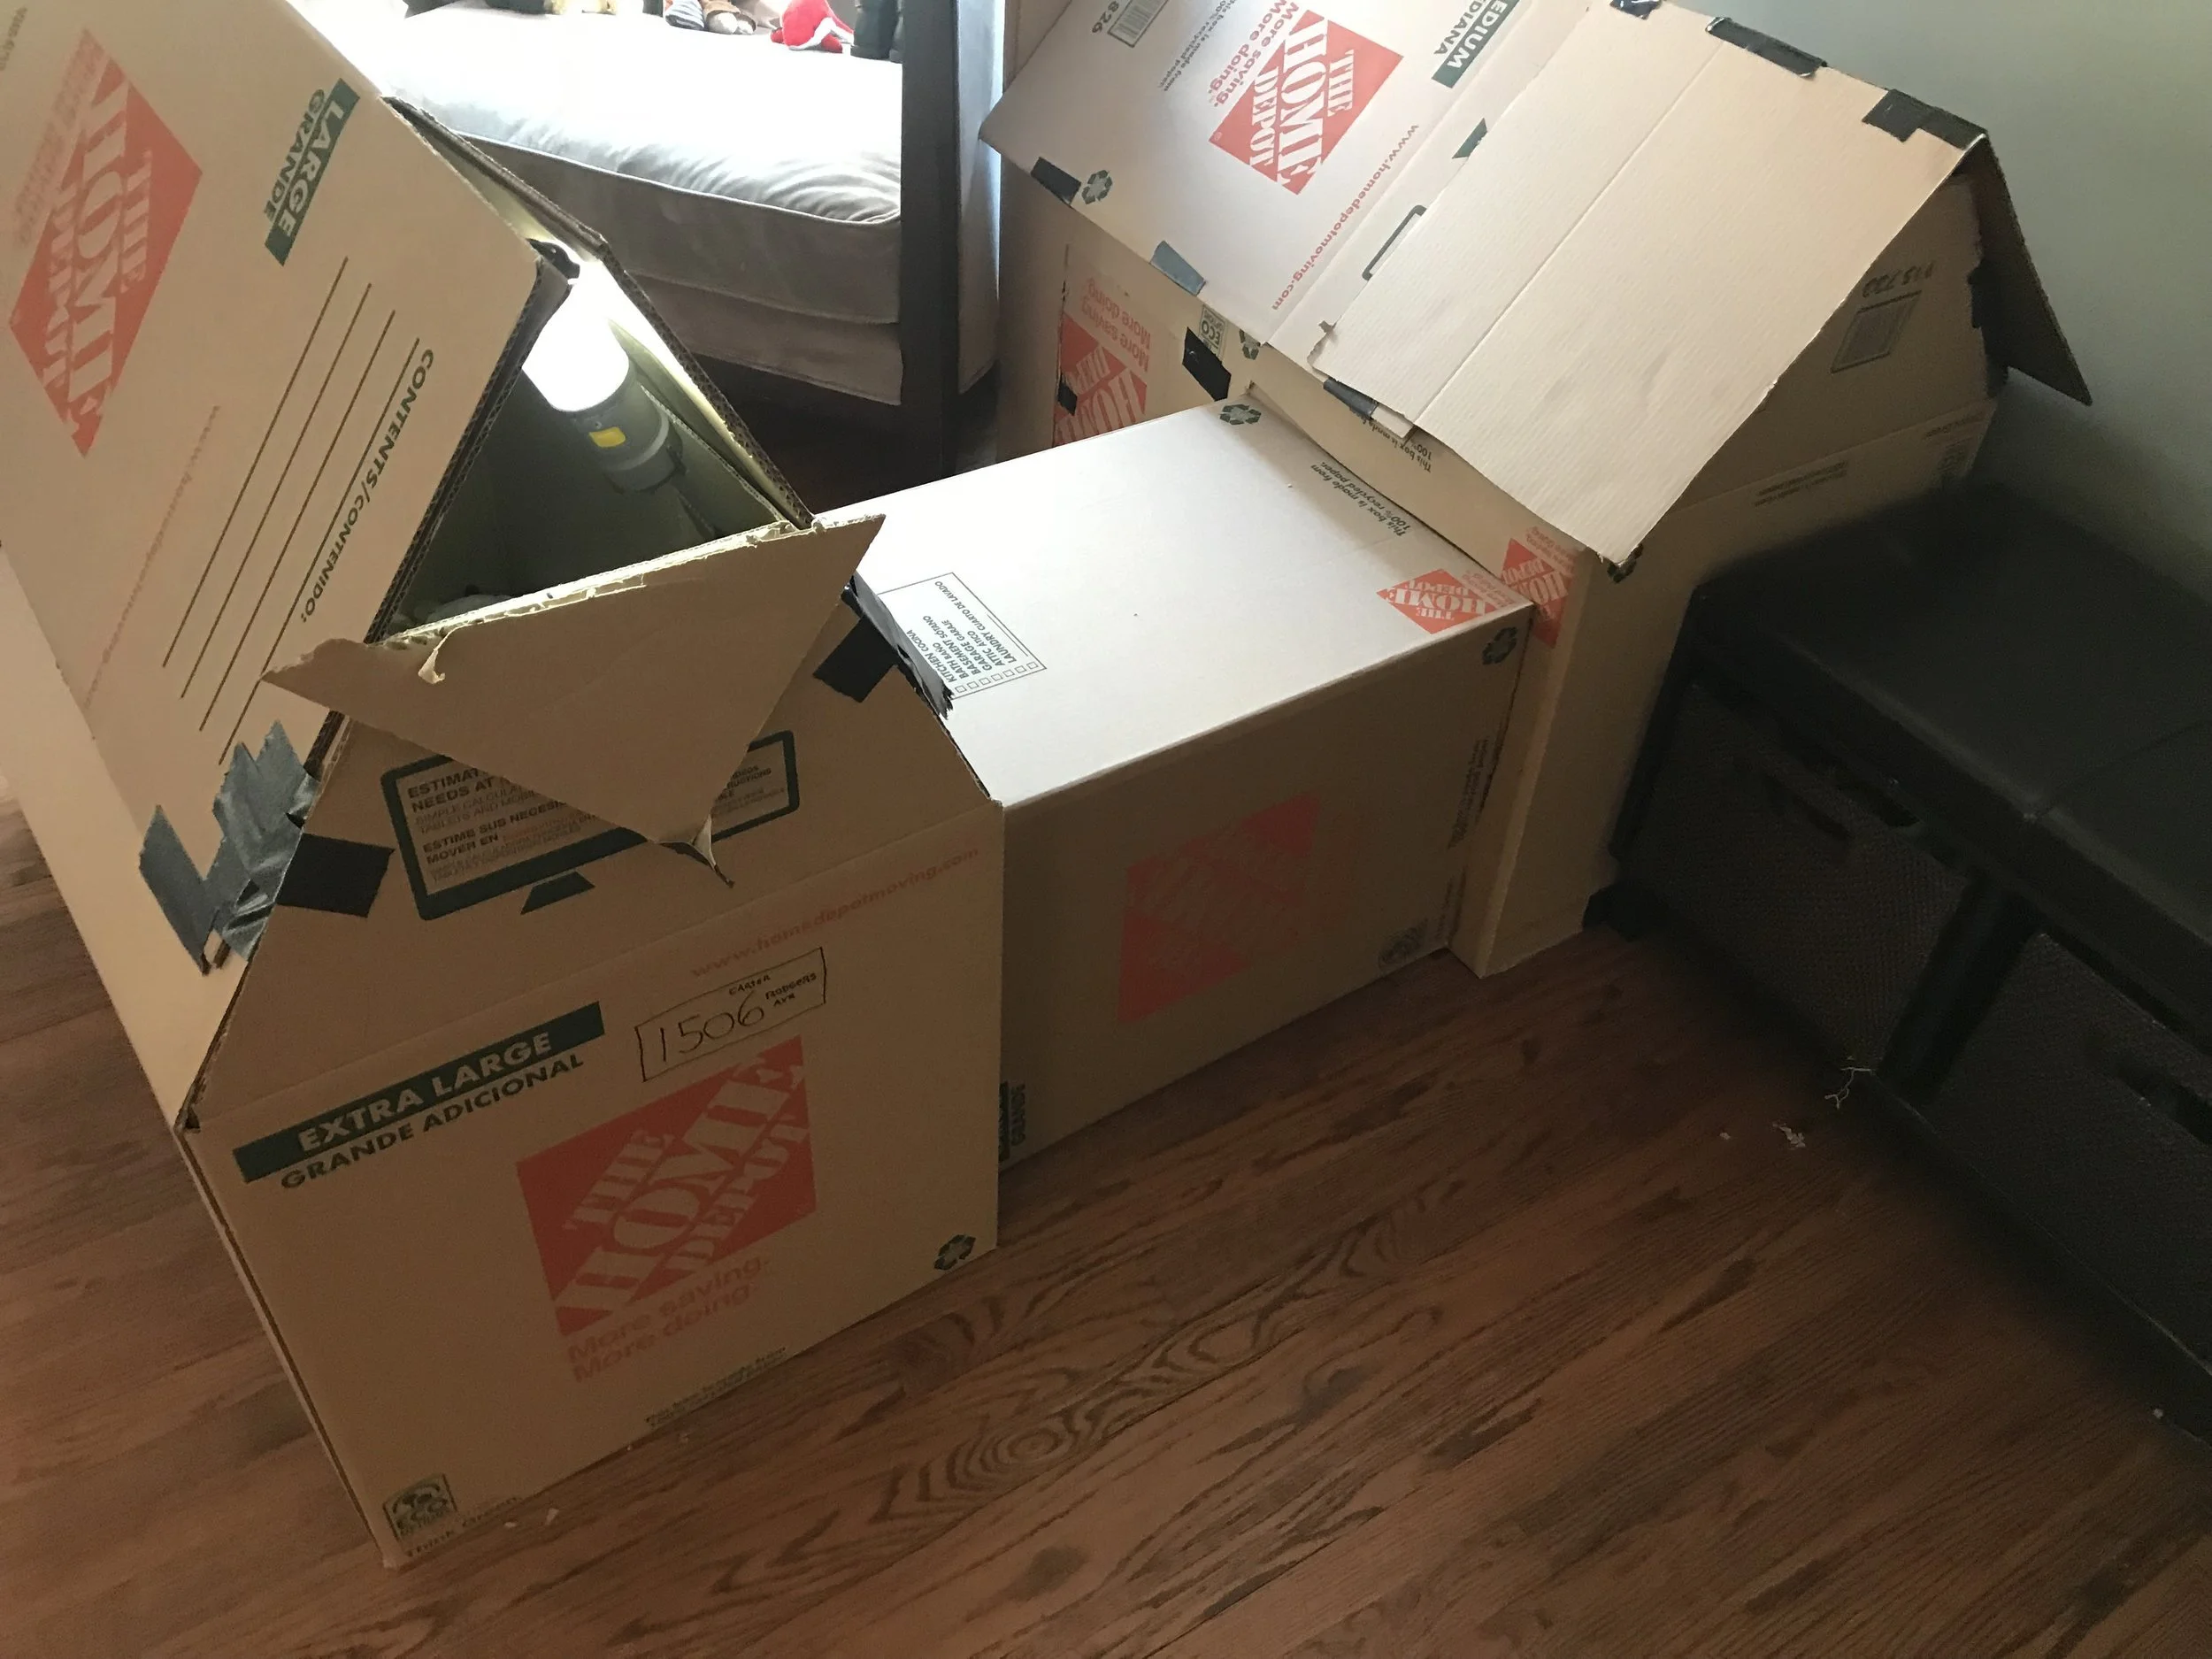
If the box isn’t big enough, no problem. Here are a couple of solutions (1) tape existing boxes together (2) home depot sells moving boxes for about $2.50 each (3) dollar tree has 2ft x 3ft foam board for $1.
Here are some pro-tips for building
Lay out of your materials – have a design on paper and in your head

Mark where to cut prior to cutting
Overlapping the boxes and taping with duck tape will keep the house strong. Duck tape is your friend, tape the bottom, sides and roof of the boxes.


Customization is cool – add roofs (just try something and if it doesn't work, try again)